 Ovobrowser
Get started with ovoBrowser
This tutorial takes you through installation, registration, login, and creation of your first browser profile. It is recommended to reserve 10 minutes for the first time and keep the network connection stable.
Get started with ovoBrowser
This tutorial takes you through installation, registration, login, and creation of your first browser profile. It is recommended to reserve 10 minutes for the first time and keep the network connection stable.
Preparation before starting
A Windows computer that can connect to the Internet normally;
An email address that can receive verification codes;
If you need an independent network export, prepare HTTP, HTTPS or SOCKS5 Proxy settings;
Make sure the disk has enough space to install the client and Chromium kernel;
For team team member accounts, please first obtain the login account and initial password from the team owner.
Download and install
Get the latest version of the Windows installation package from the ovoBrowser official download page;
Double-click the installation package and follow the prompts to complete the installation;
Launch ovoBrowser from the desktop or start menu;
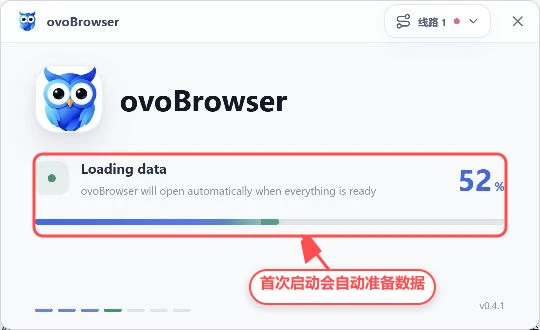
When starting for the first time, wait for "Desktop Service", "Data Loading", "Session Recovery", "Workspace Synchronization" and "Interface Preparation" to be completed;
If the launch step fails, click "Recheck".
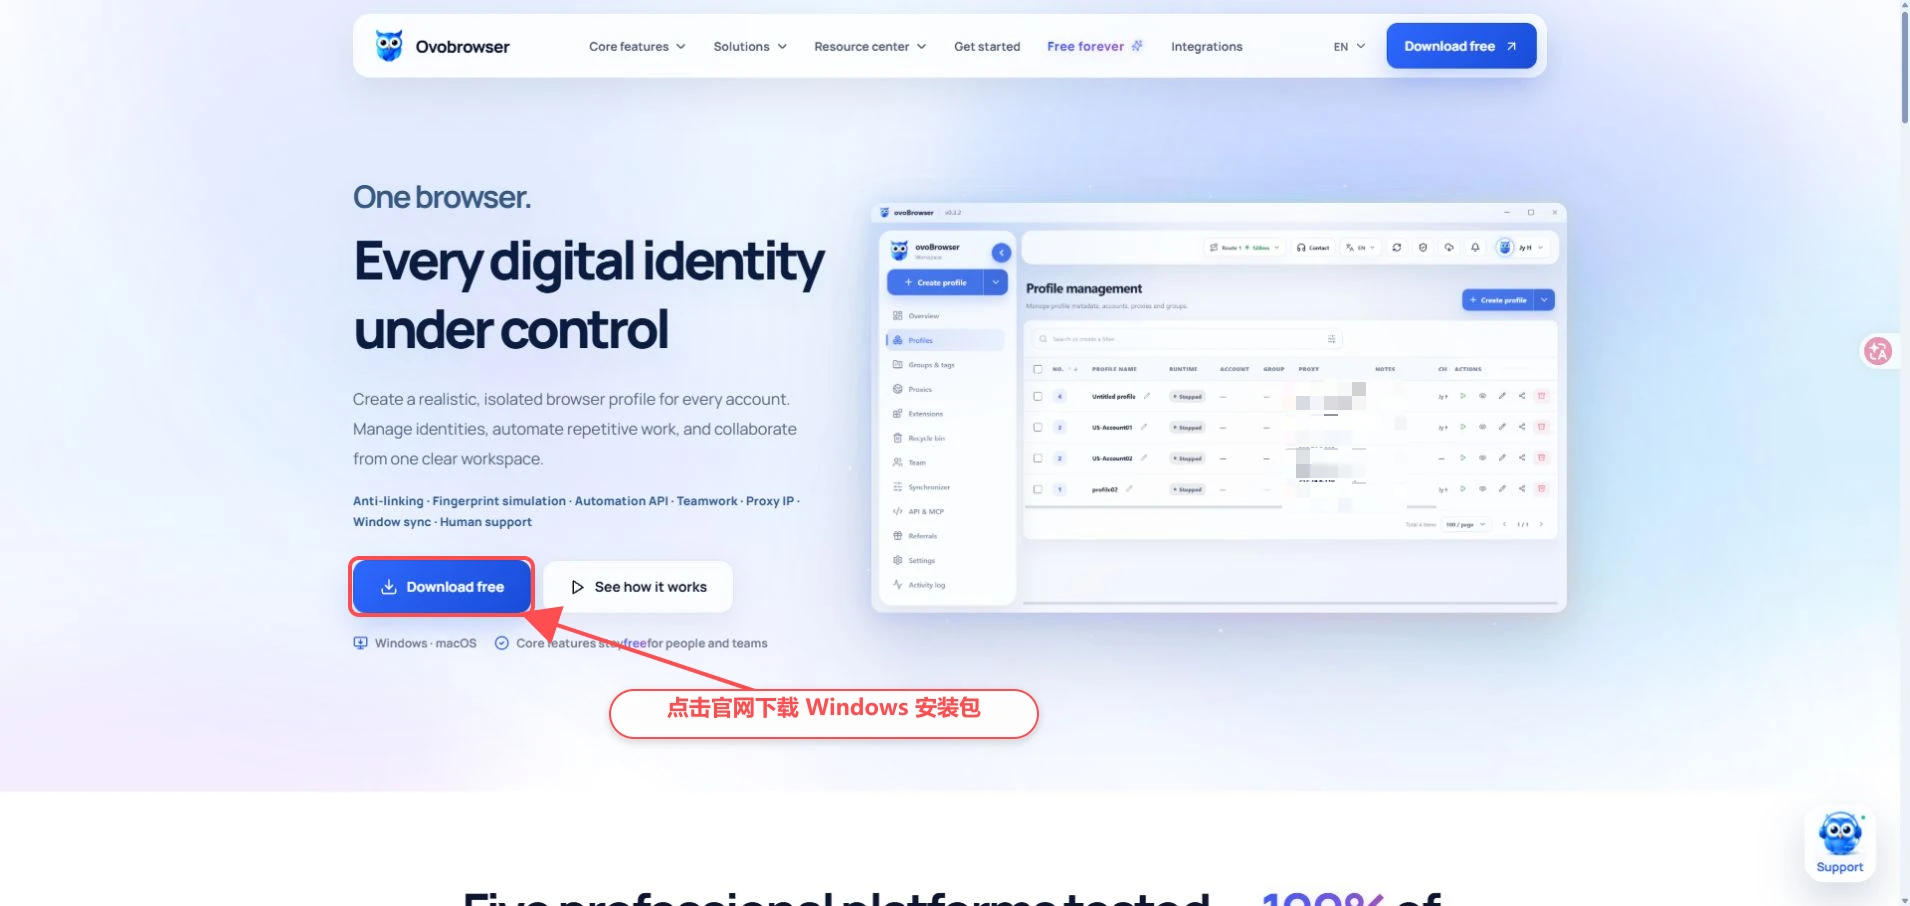
After the installation is completed, the ovoBrowser shortcut will appear on the Windows desktop, and the icon should be consistent with the picture below.
Register a personal account
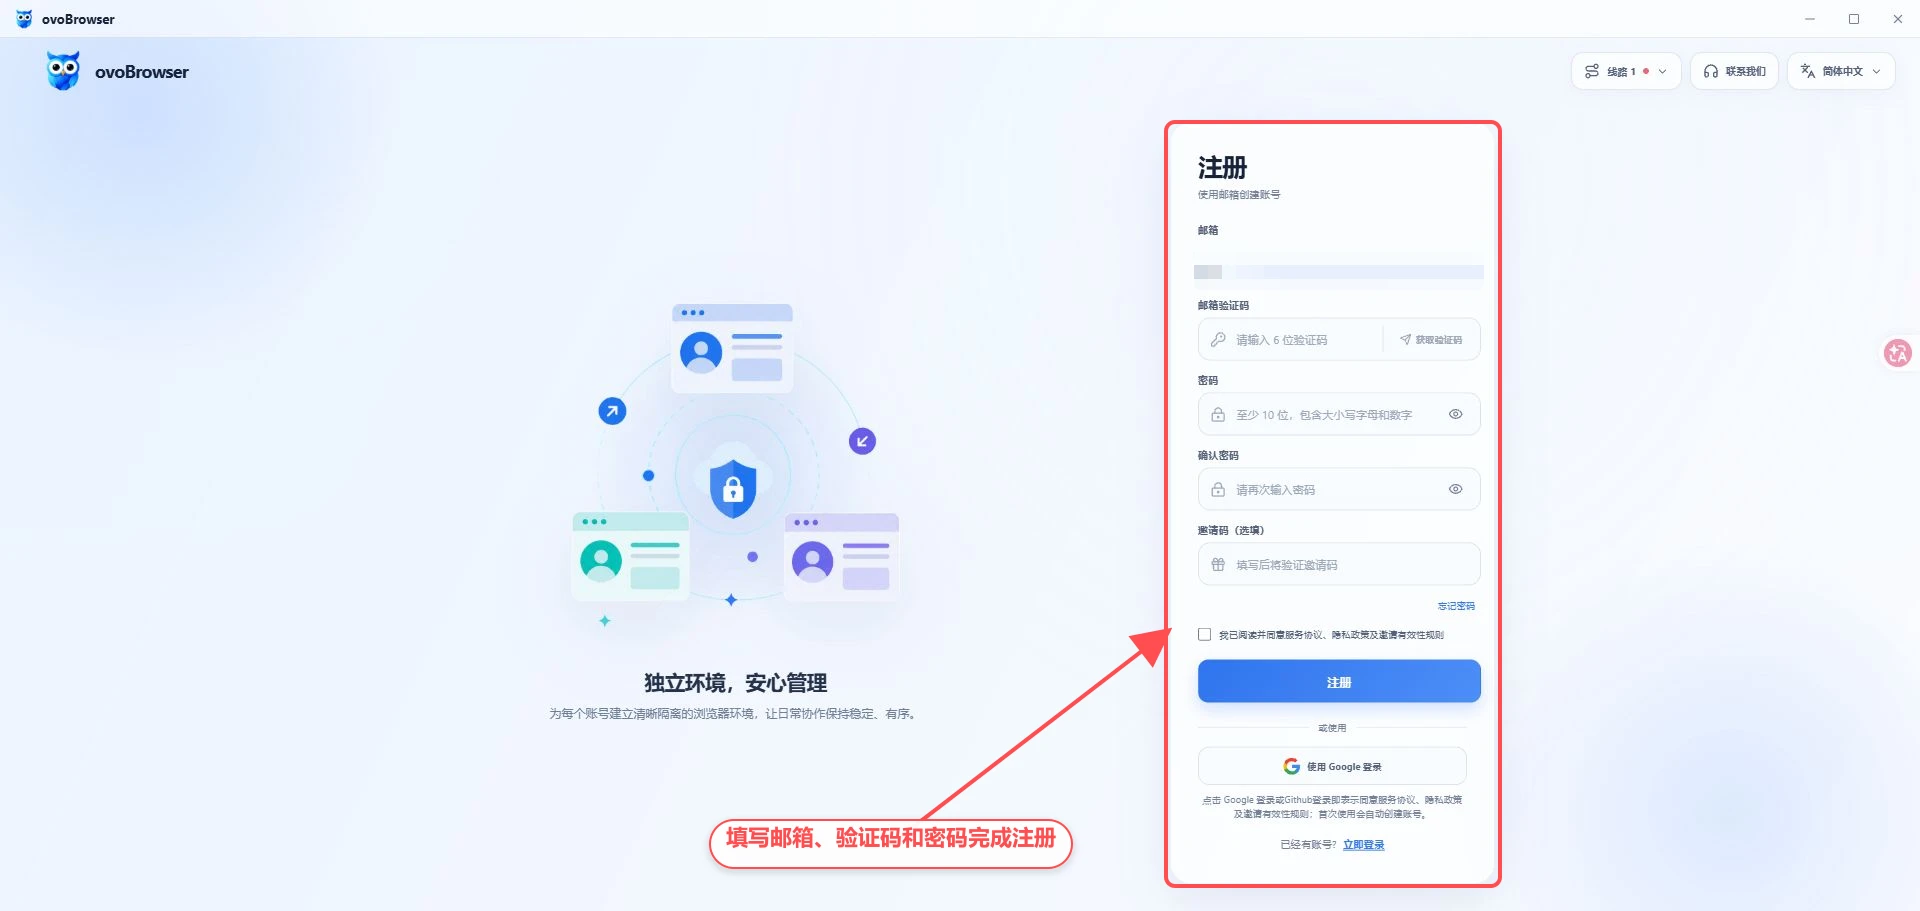
Switch to "Register" on the login page;
Enter your frequently used email address;
Click "Get Verification Code" to check the 6-digit verification code in your mailbox;
Set login password. Password must be at least 10 characters long and contain uppercase letters, lowercase letters and numbers;
Enter password again;
The invitation code is optional and will be filled in when there is an inviter;
Read and agree to the service agreement, privacy policy and invitation validity rules;
Click "Register".
The verification code is valid for 10 minutes. When requesting multiple times in succession, the last verification code received shall prevail.
Log in using a third-party account
The login page supports third-party login methods, such as Google, that are actually displayed on the page. The available methods depend on the current page of the client.
Click the corresponding login button;
The system browser will open the authorization page;
Use the target account to complete authorization;
Return ovoBrowser, the client will automatically complete the login;
The ovoBrowser account will be automatically created upon first use.
Do not close ovoBrowser during the authorization process. If there is no response for a long time, you can cancel the authorization and try again.
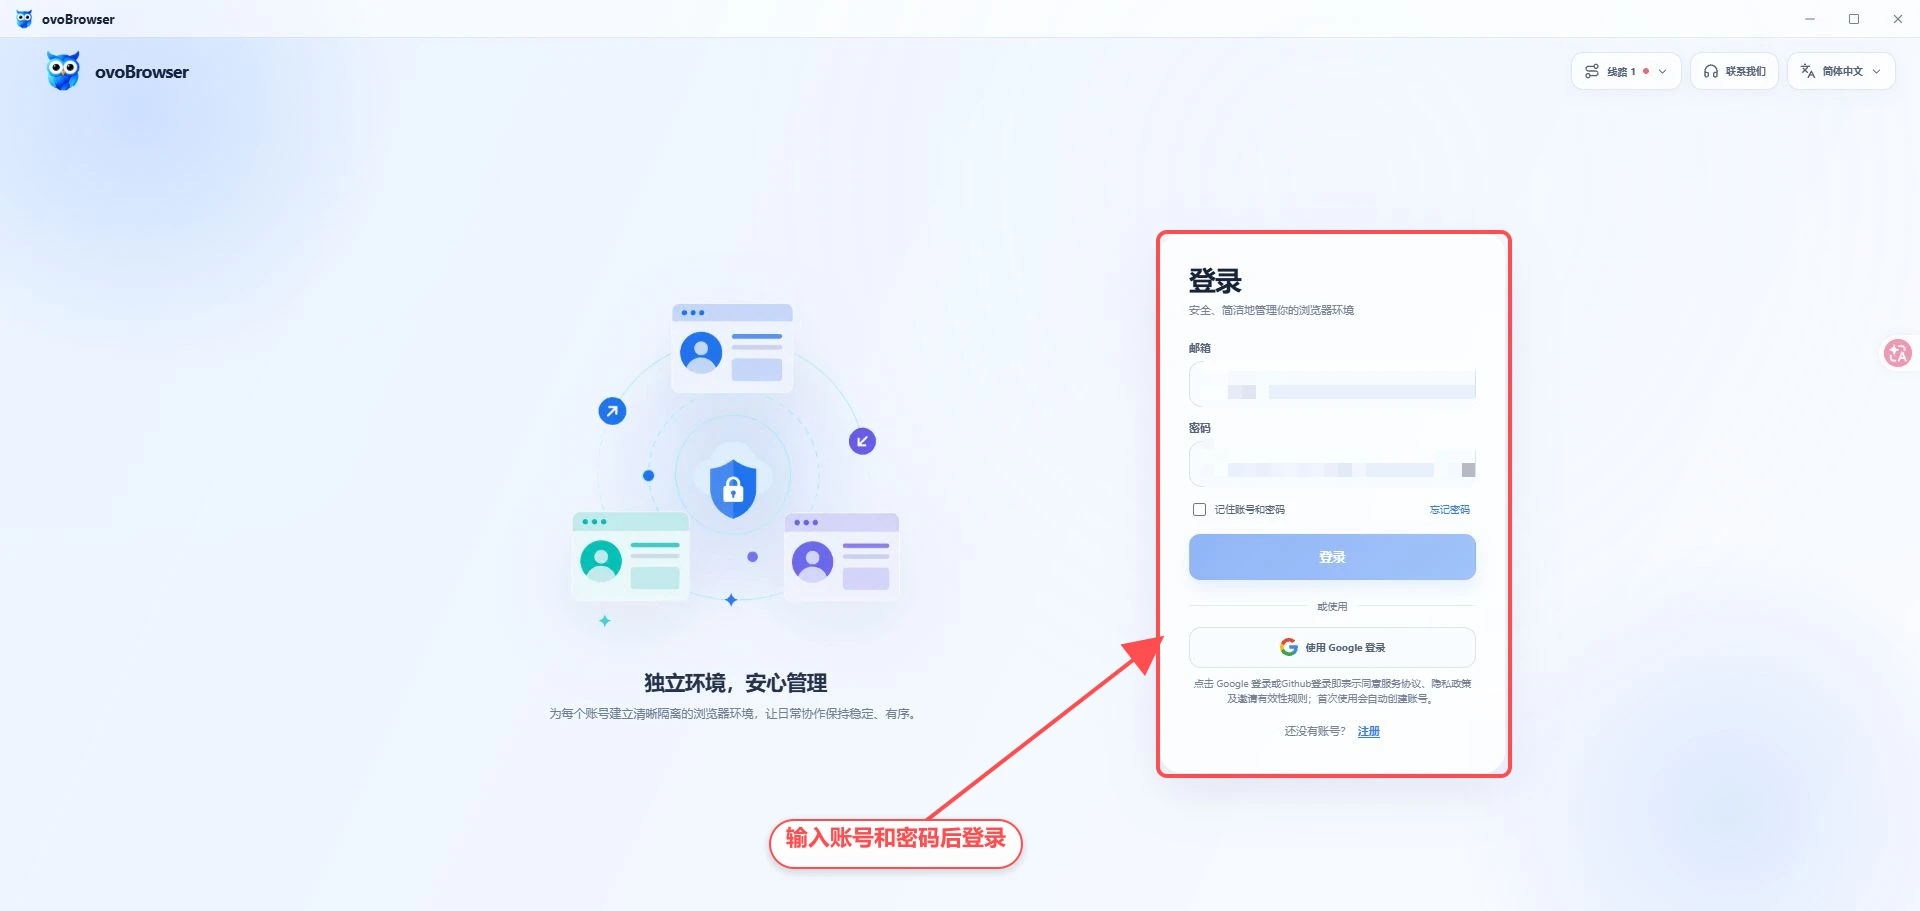
Log in using email and password
Select "Login" on the login page;
Enter the registered email or team member login account;
Enter password;
Check "Remember account and password" if necessary;
Click "Login".
If you forget the password for your personal account, you can click "Forgot Password" to reset it through the email verification code. Team team member accounts should contact the team owner to change their password.
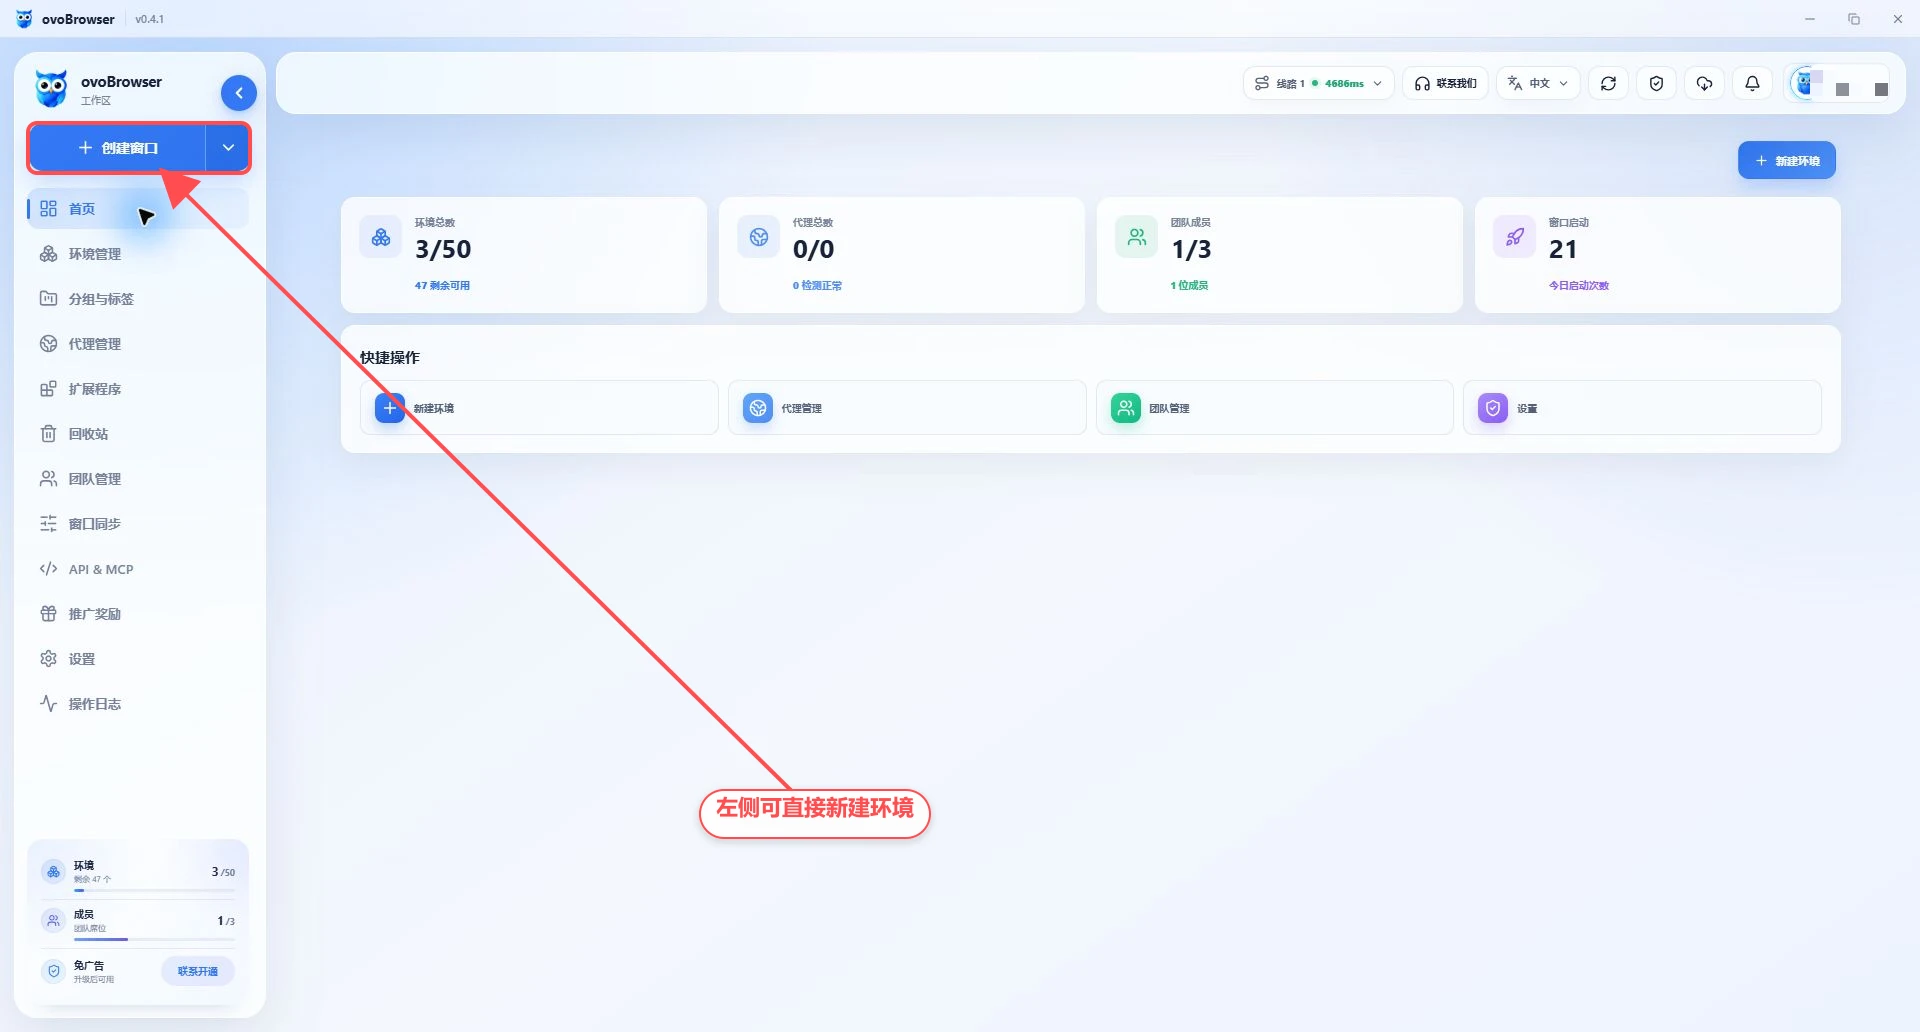
Get to know the main interface
After logging in, the main areas include:
Left menu: Profile Management, Groups & Tags, Proxy Management, extensions, Recycle bin, team management, Window Sync, API & MCP, etc.;
Top bar: interface line, contact us, language, refresh data, updates, notifications and user menu;
Lower left corner: Current number of profiles, team seats and package benefits;
Content area: displays the current function page.
Team roles may only see authorized menus, this is normal.
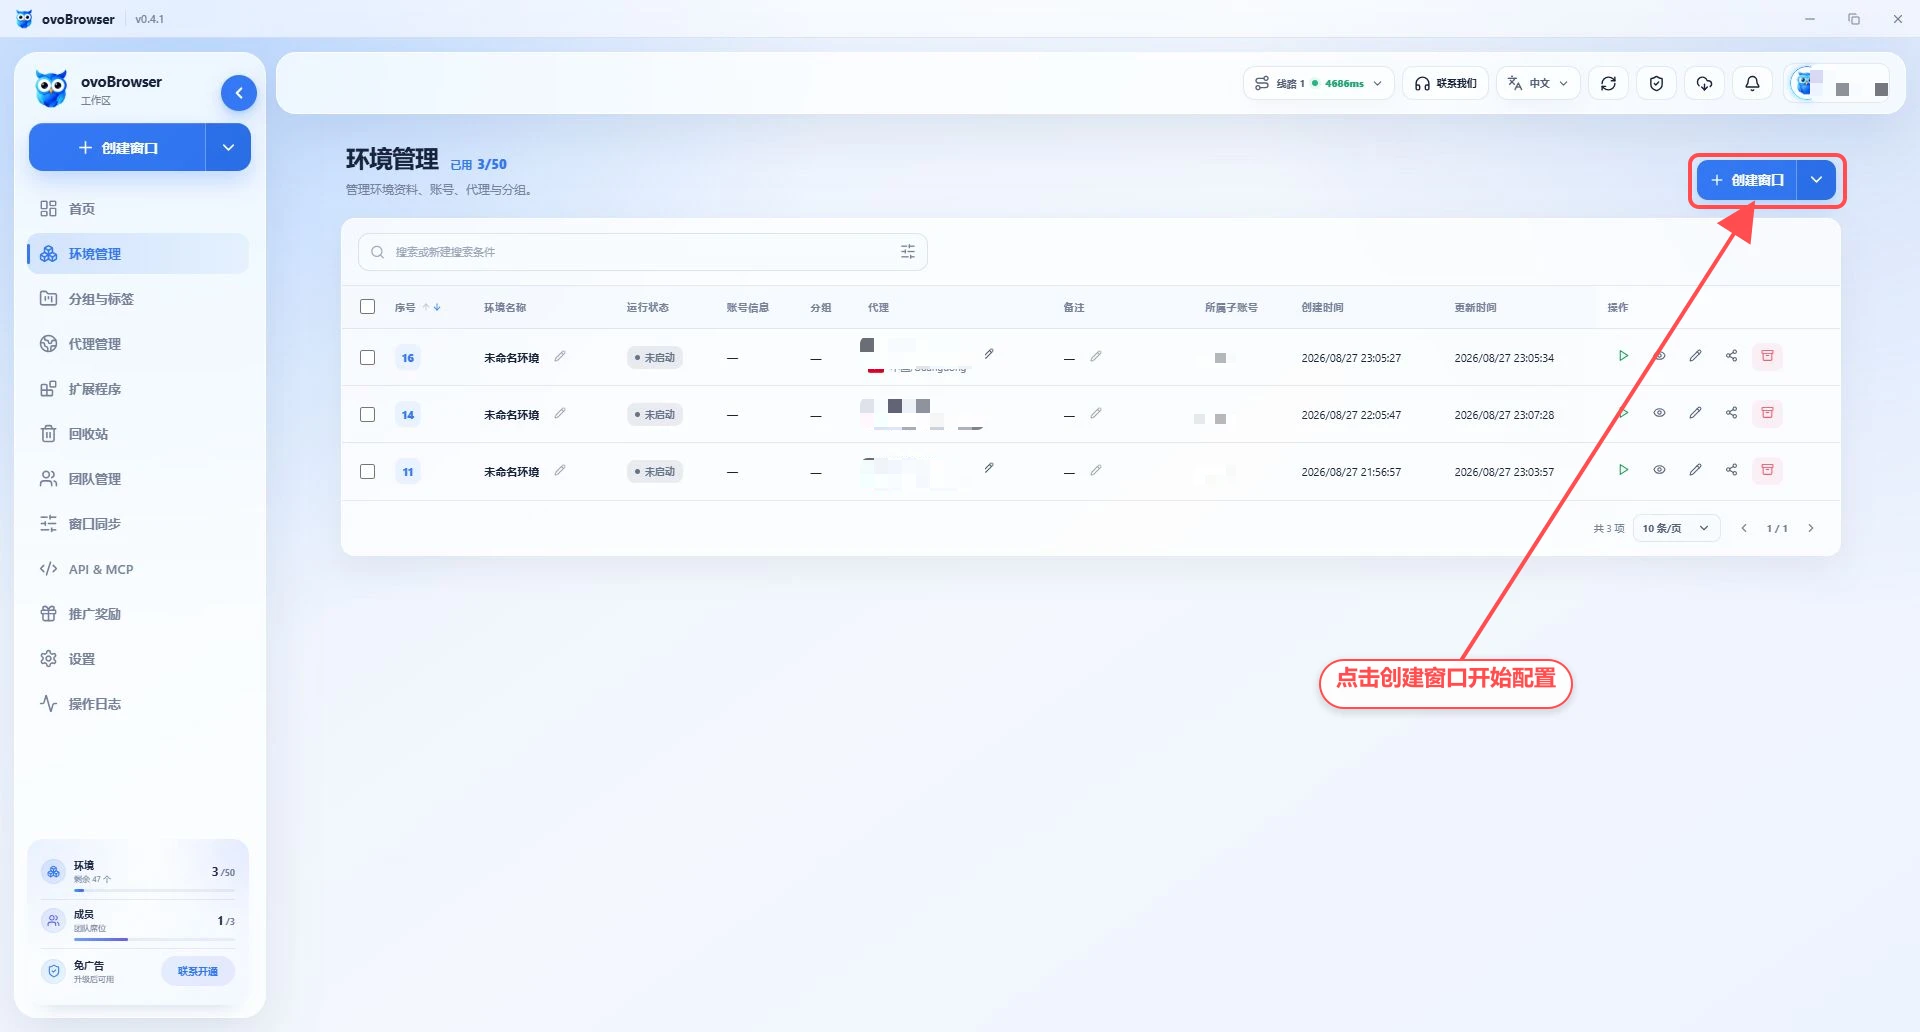
Create the first profile
Go to "Profile Management";
Click "New profile" or "Create Window";
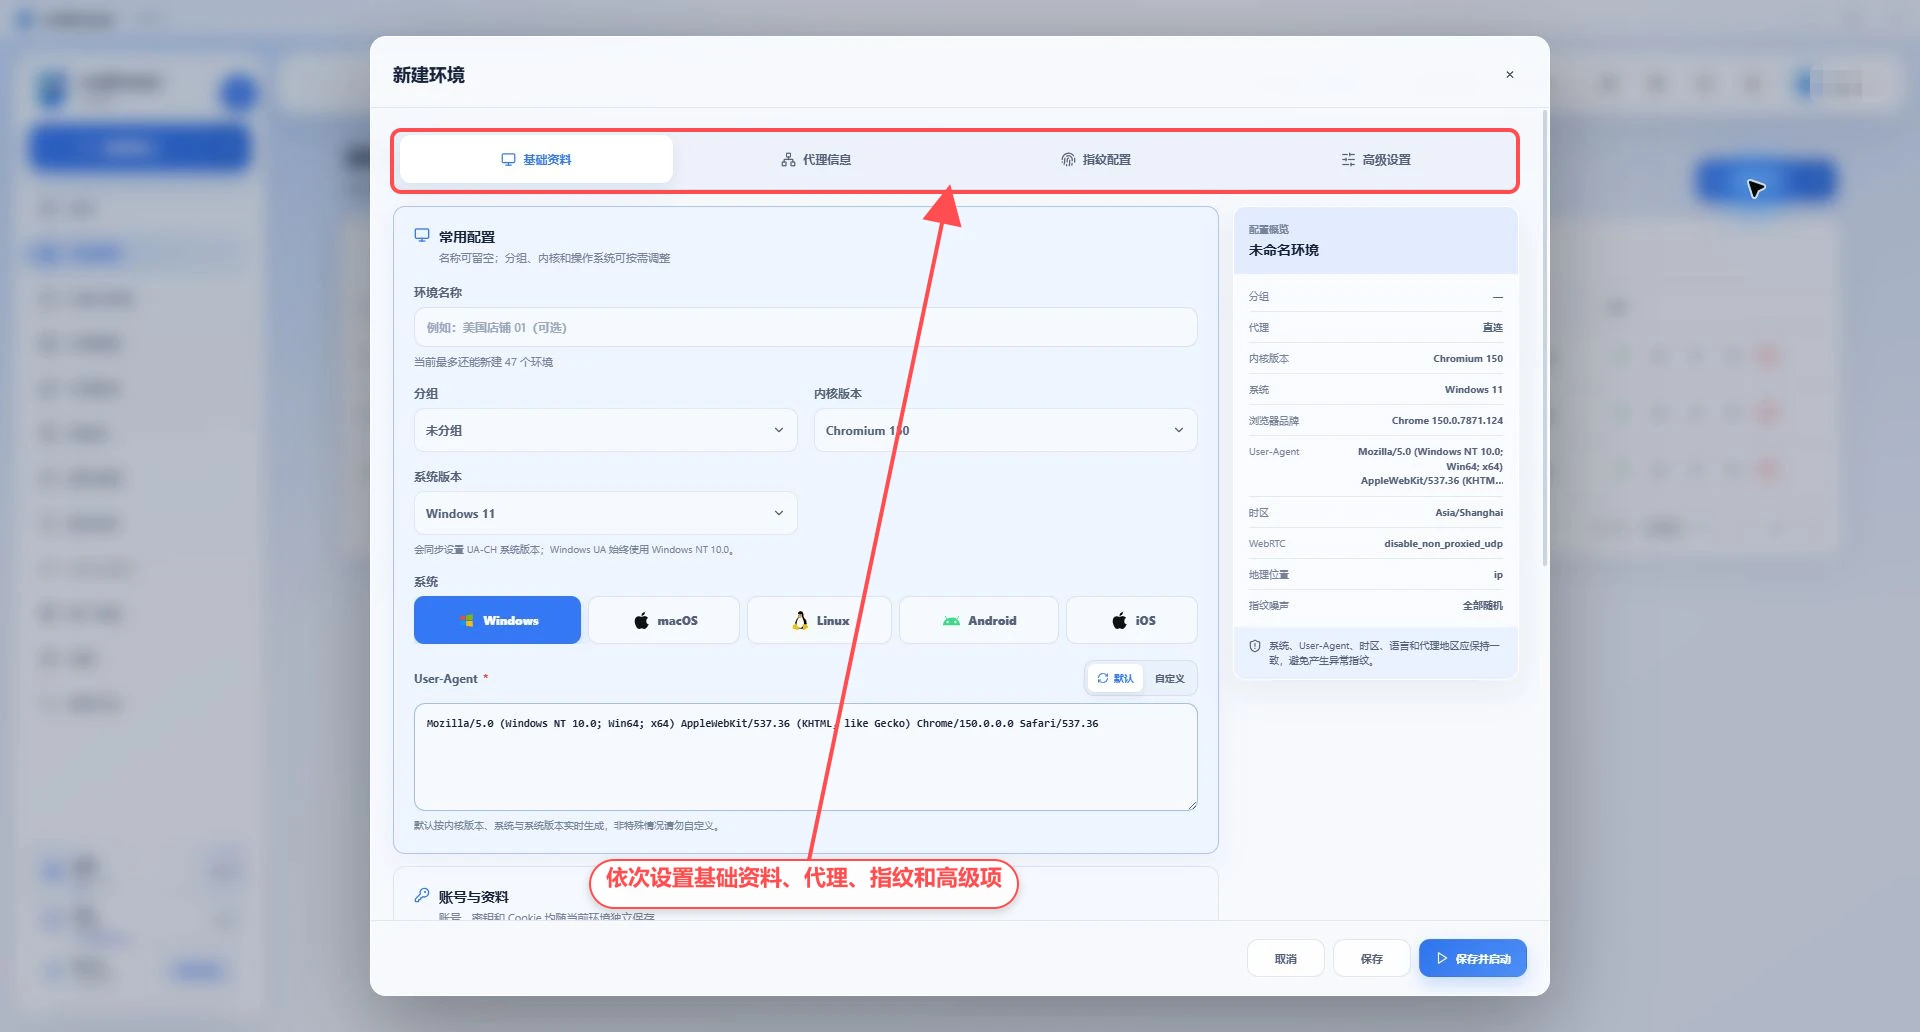
The profile name can be left blank or filled in with a name that is easy to identify;
Select the group, Chromium kernel and operating system;
If there is no proxy, keep "Direct Connection"; if there is a proxy, select "Saved proxy" or fill in a custom proxy;
The proxy user clicks "Check Network" and confirms that the connection is successful and the correct exit IP is displayed;
Keep the default fingerprint to complete the first creation;
Click "Save and Launch".
When using a Chromium kernel for the first time, the client will automatically download and prepare the kernel, and the waiting time depends on the network speed.
Confirm that the profile can be used normally
Once the browser window opens:
Visit an IP lookup website;
Confirm that the exit IP is consistent with the proxy test result;
Open the target business website and confirm that the page loads normally;
After completing the test, click "Close" from the profile list to exit normally.
A graceful close helps save the tab and Cookie data. Do not use Task Manager to force end kernel processes for a long time.
Next step
A complete novice process is required: read "ovoBrowser Beginner's Guide";
Need to manage multiple proxies: read "Proxy Management";
Need to create profiles in batches: read "Profile Management";
Need to organize the profile: read "Group Management";
Requires multi-person collaboration: read "Team Management";
Need to batch operate windows: read "Window Sync";
Need code automation: read "API Documentation".